
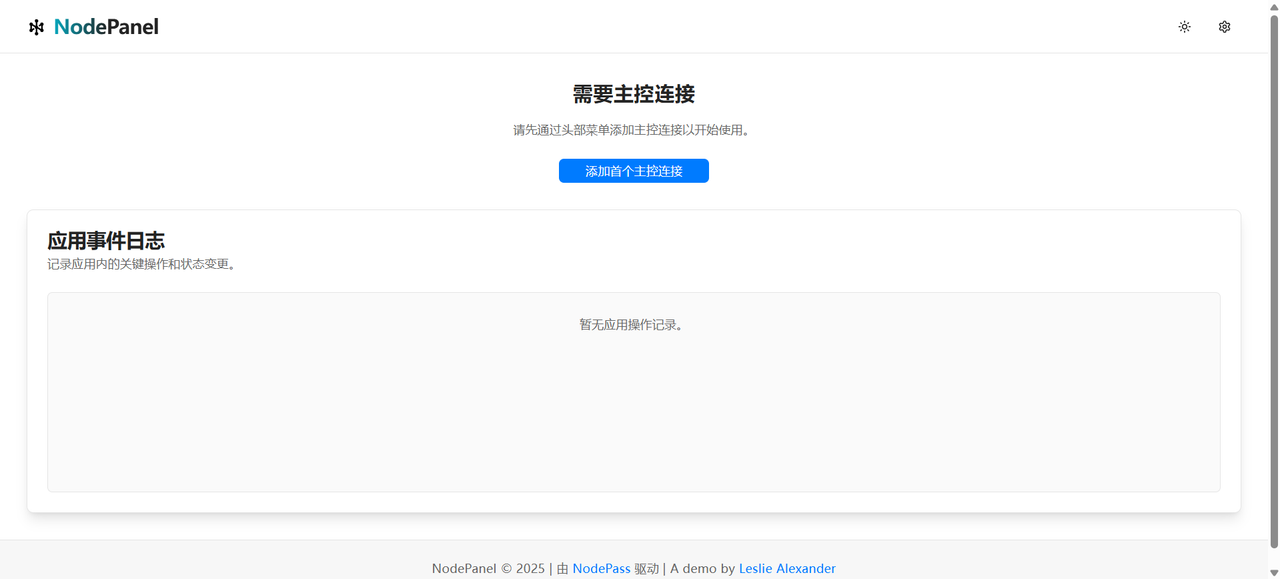
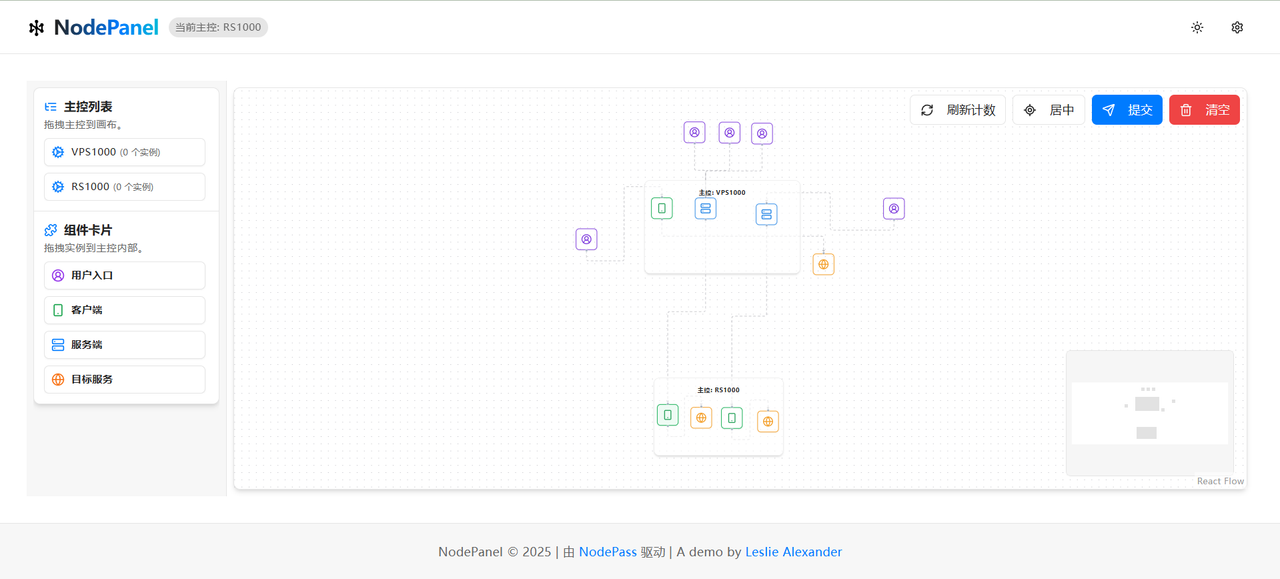
This is a frontend management panel powered by NodePass (yosebyte/nodepass), providing a user-friendly WebUI to manage your NodePass services.
Vercel is one of the recommended ways to deploy this frontend panel.
Quick Deployment:
Manual Deployment:
- Fork this repository (if you haven't already).
- Log in to your Vercel account.
- Click "New Project".
- Select "Import Git Repository", then choose your forked repository.
- Vercel usually automatically detects this as a Next.js project and configures the build settings. Confirm the settings are correct.
- Click "Deploy".
After deployment, you will get a Vercel domain (e.g., xxx.vercel.app), and the frontend panel will be accessible through this domain.

Cloudflare Pages provides good support for Next.js applications, allowing them to be deployed to Cloudflare's global edge network for a fast and stable access experience.
- Fork this repository (if not already forked).
- Log in to your Cloudflare account.
- On the dashboard home page, navigate to Workers & Pages.
- Click Create application → Select the Pages tab → Click Connect to Git.
- Select your forked repository and click Begin setup to start configuration.
- Configuration details:
- Project Name: Keep default or customize;
- Production Branch: Select
mainormasteras your primary branch.
- In the Build settings section:
- Framework preset:
Next.js;- Build command:
npx @cloudflare/next-on-pages@1;- Build output directory:
.vercel/output/static.
- Click Save and Deploy to start deployment.
- If the build fails, go to "Settings → Runtime → Compatibility flags", enter and select
nodejs_compat, save, and then Redeploy.
After deployment, Cloudflare Pages will assign a *.pages.dev domain to your project, e.g., your-project.pages.dev. You can access your frontend page through this domain.
